Editing Workflow: From Raw Footage to Polished Video
Setting Up Your Workspace
Choose editing software based on your skill level: DaVinci Resolve (free, professional), Adobe Premiere Pro (industry standard), or Final Cut Pro (Mac users).
Importing and Organization
Create a project structure: Raw Footage, Audio, Graphics, Exports. Use bins/folders to organize clips by location, date, or scene type.
Reviewing Footage
Watch all footage before editing. Mark best takes with ratings or colors. Delete unusable clips immediately to save storage and mental clarity.
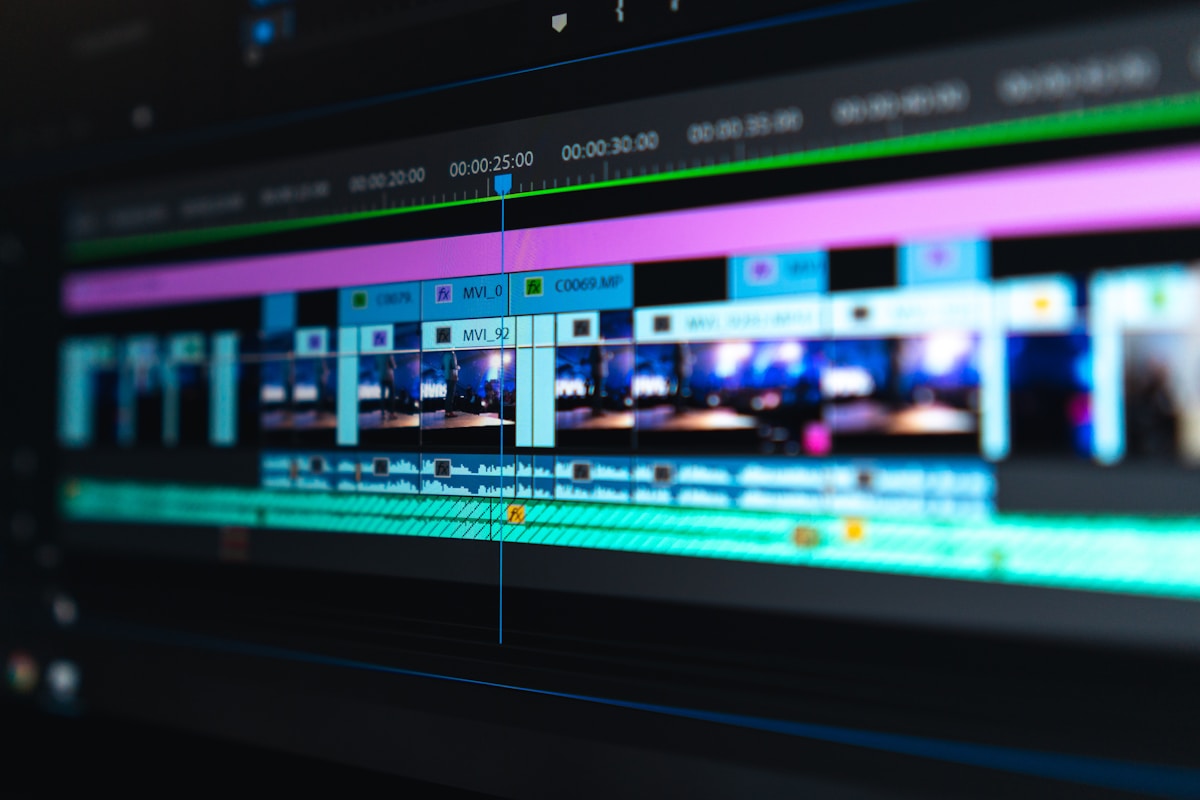
Assembly Edit
Lay out your story structure first. Drop clips on timeline in sequence without trimming. This creates your narrative backbone.
Rough Cut
Trim clips to essential moments. Remove dead air, shaky starts, and poor transitions. Aim for pacing that matches your videos energy level.
Color Correction
First correct: adjust exposure, white balance, and contrast to make footage look natural. Match clips from different times/conditions for consistency.
Color Grading
Then grade: apply creative looks that match your videos mood. Popular styles include cinematic teal-orange, vibrant saturation, or moody desaturation.
Audio Design
Layer: ambient sounds, music, and sound effects. Mix levels so music supports without overwhelming. Use audio transitions (fades) between clips.
Text and Graphics
Add titles, lower thirds, and call-to-action graphics. Keep text readable (large, high contrast). Maintain consistent style throughout.
Final Export
For YouTube: H.264, 1080p or 4K, 30fps or 60fps, 15-25 Mbps bitrate. For Instagram: 1080x1080 (square) or 1080x1920 (vertical), under 60 seconds.